Building Tempo
After visiting Goolwa, South Australia and the Gippsland Lakes in Victoria, I decided to get a small boat. I couldn’t find what I wanted so I built an 18’ Sharpie.
November 2005, I started
From the lofting drawings, moulds, bulkheads and knees were cut.
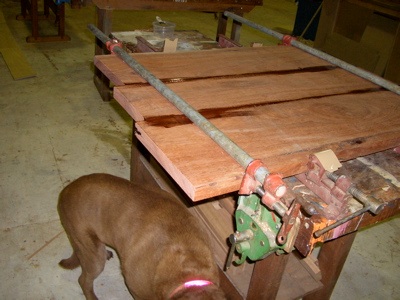
The Wooden Boat Centre procured all materials for me including the lumber for the transom seen being glued up here.
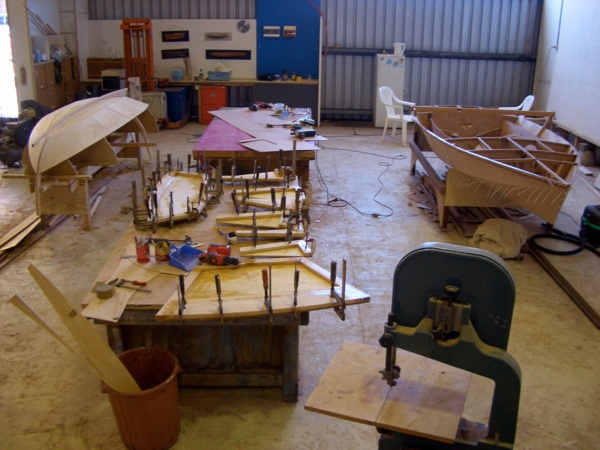
My work area is in the middle. The knees and bulkheads are being glued up.
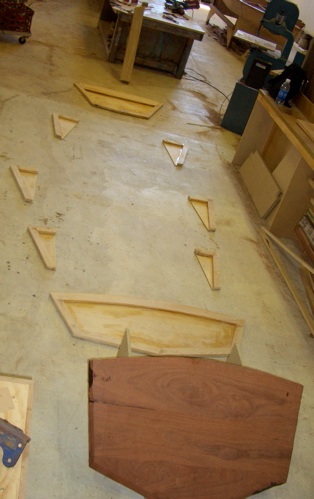
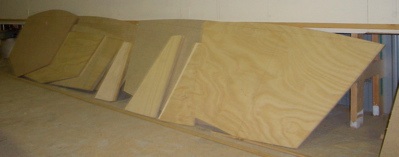
Here are all the pieces laid out. The moulds aren't shown.
Doesn't look like much.

Those pieces have to be mounted on something so I was instructed to build a "strongback". This was squared, leveled and bolted to the floor.

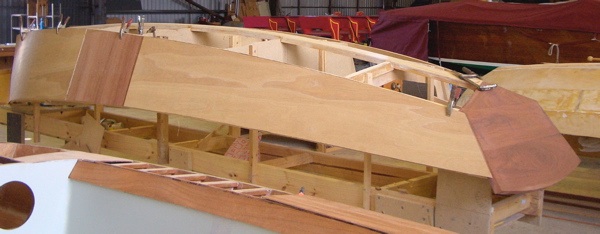
Here is the transom, aft bulkhead and 3 moulds mounted on strongback. All are oriented by vertical and the building line... or they are suppose to be.
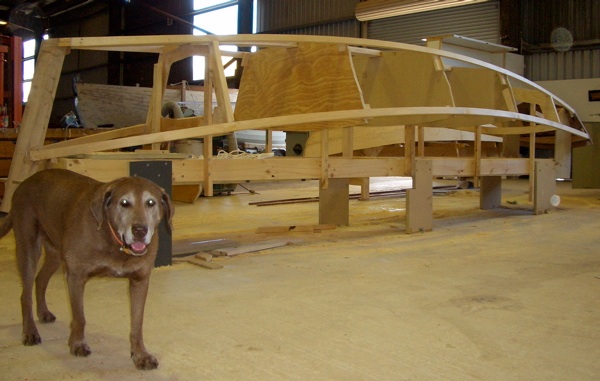
After much, and I do mean MUCH adjusting, (like 2 weeks worth of sitting and looking and making small changes) my sense of aesthetics was finally satisfied or maybe I just got tired and I went ahead and mounted the chine and shear boards (horizontal long planks).
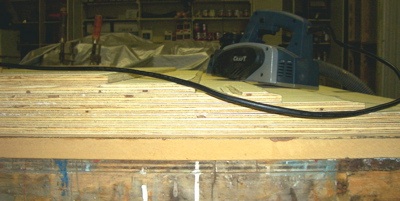
Plywood doesn't come in 20 foot lengths so I had to make my own. I had a hard time believing you could simply glue plywood together but Brian assured me that it’s common practice. Above is a poor photo of the plywood stacked ready to make a 10 to 1 scarf. A planer, pad sander and hand plane are used to make a common angle.
Here’s a even more poorly lit shot of the finished angle.

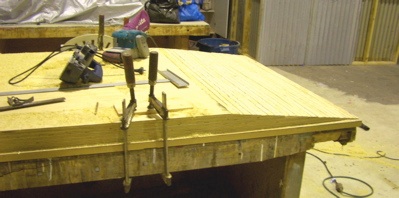
Two and a half sheets of plywood glued together forming one sheet long enough to make the sides and bottoms of my Sharpie.
I wisely cut luan (thin, cheap plywood) templates. then traced the shape of the sides and bottoms onto the freshly scarfed plywood.

You can just make out the luan templates on top of the 2 long scarfed plywood sheets. The shape was traced and then cut with a skill saw.
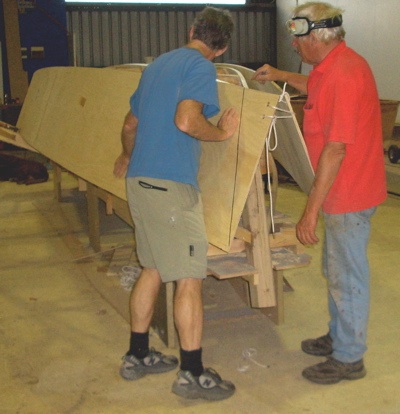
Brian (right) and myself checking the fit before epoxying.
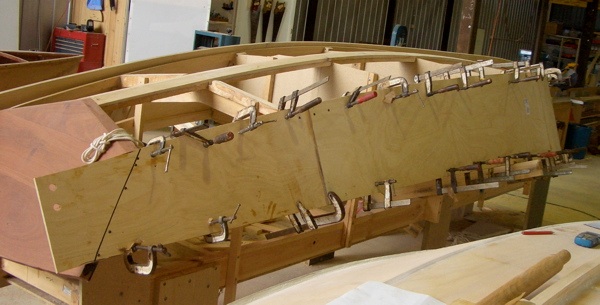
sides are epoxyed on.
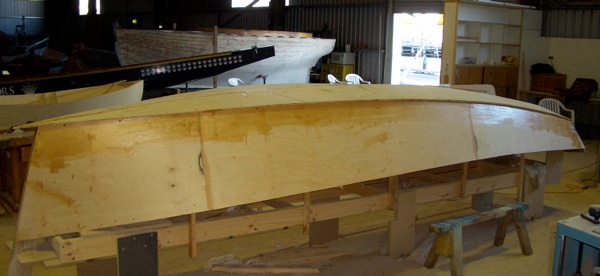
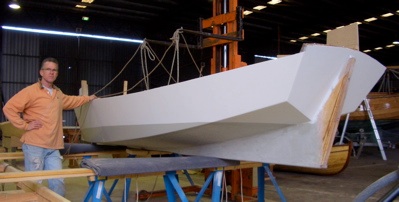
Sides and bottoms glued in place.

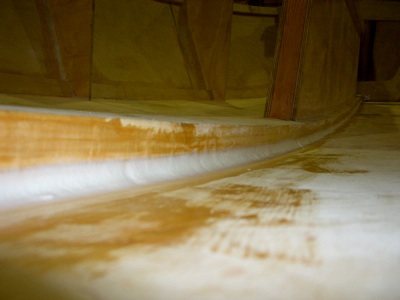
Keel and gripe (forward mini keel) in place. The hull is covered in Dynel cloth set in epoxy for abrasion resistance.
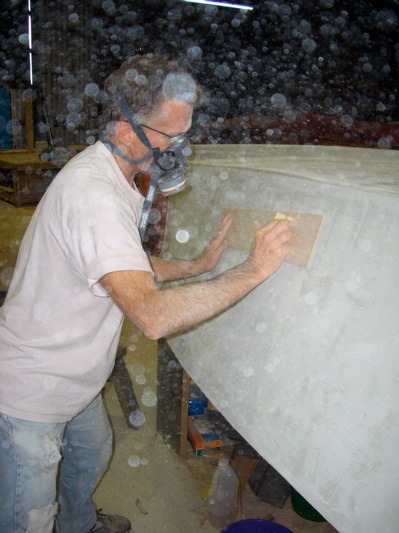
Dynel cloth weave was filled with thickened epoxy and sanded and filled again and sanded... and filled and sanded once more, and then again.

The waterline sets off the curves.
Finally the day came to flip the boat upright. It was very exciting!
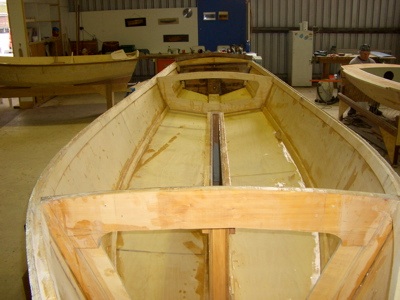
First look inside. Moulds have been removed.
Knees in place.
All joints were filleted. That's the thickened white epoxy making a 90 degree joint into a nice curve.

Inside sealed with epoxy and primed.
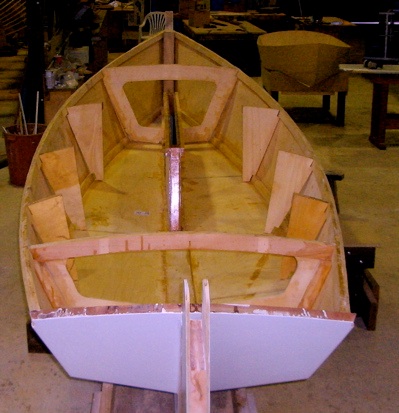
Carlins in place.
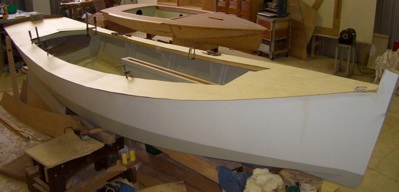
The rough cut decks temporarily put on for the visual reward.

I realized that there was no way to secure anything like coolers etc. so I added a stringer at waterline level and a miniature hand rail on the sides of the centre board trunk. Now there is a place to tie stuff down.
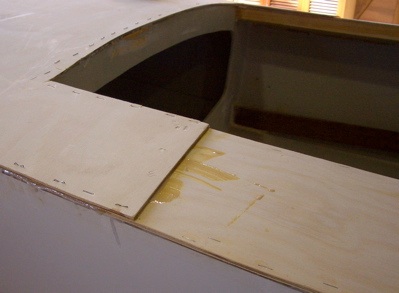
Here's the second layer of 4mm Hoop Pine plywood being glued down using stainless steel staples. Using two layers made it easier to follow the curve of the bulkheads. Some crown actually followed into the side decks.
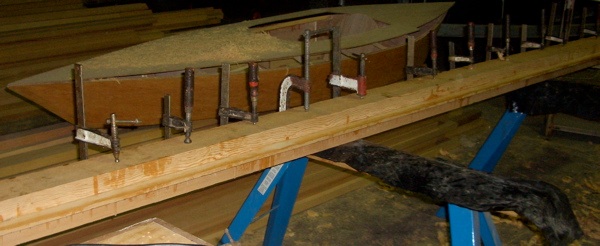
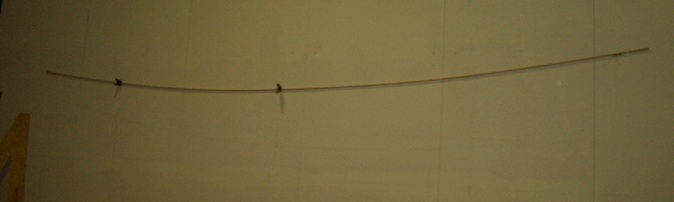
Brian lucked up and found some beautiful straight grained Oregon being glued up here to make a 4" x4" x 20' board.


After running it through the planer I made a few measurements and using a batton, drew the taper lines.
I was very hesitant to put a saw to this very expensive piece of timber but it had to be made 8 sided.
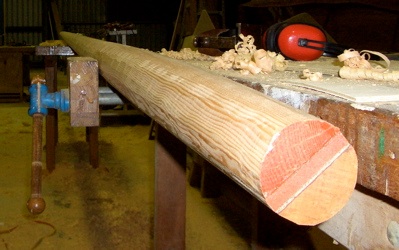
And then 16 sided and then the ridges were hand planed.


Rob brought in his "mast rounder" drill attachment. It saved me hours of hand sanding.

There's always a little more sanding to be done.
Paint and launching
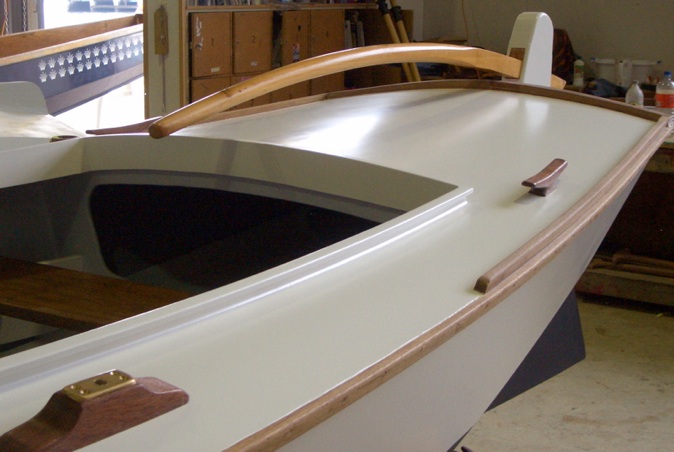
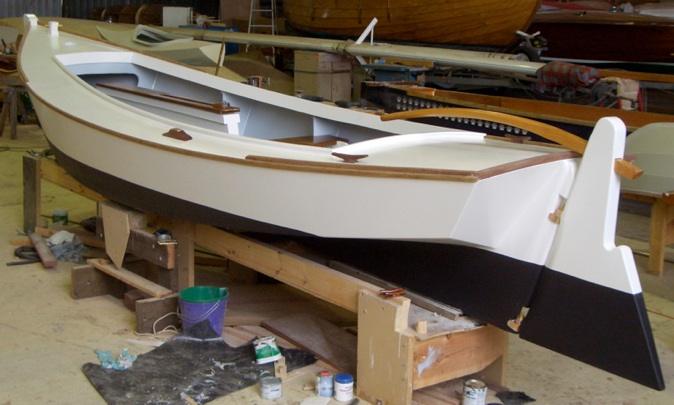
Rubrails, toerails, mast etc. are done with Deks Olje. I didn't plan on having any bright work but couldn't help myself.
Launch day finally arrived.
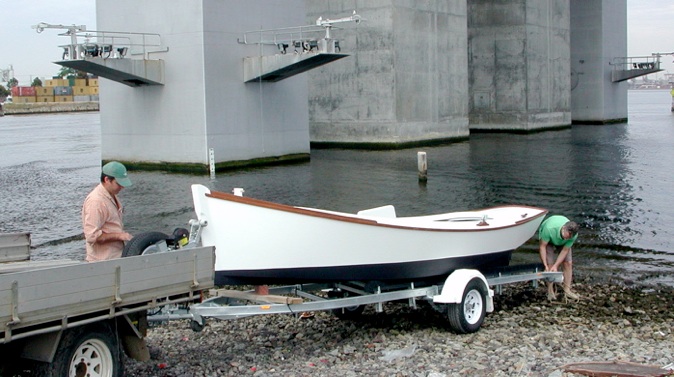
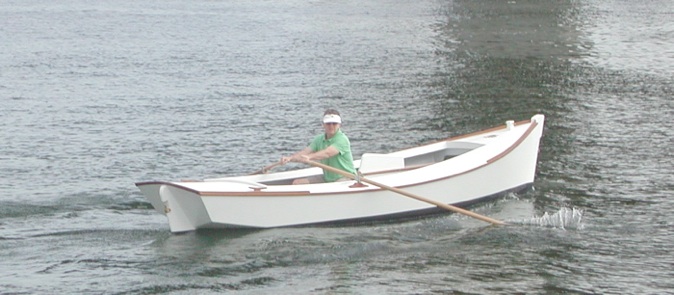
Fortunately there were no leaks and I rowed around the corner to the Wooden Boat Centre....
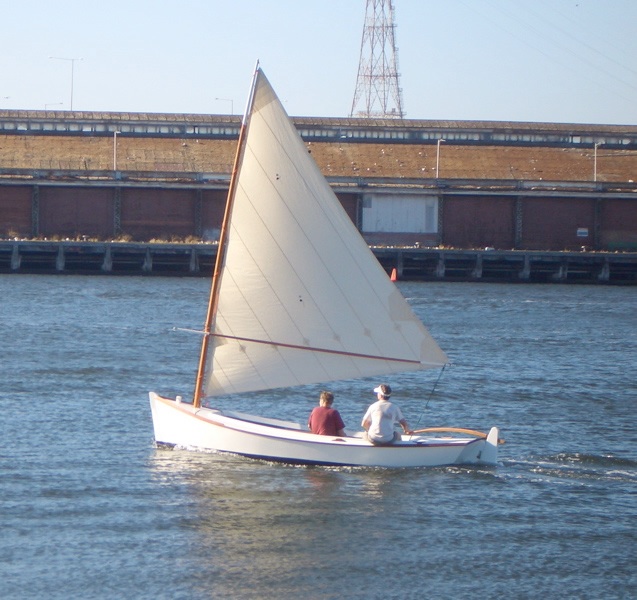
...where I popped in the mast, hoisted the new sail (made by Col Anderson) and went for a sail.
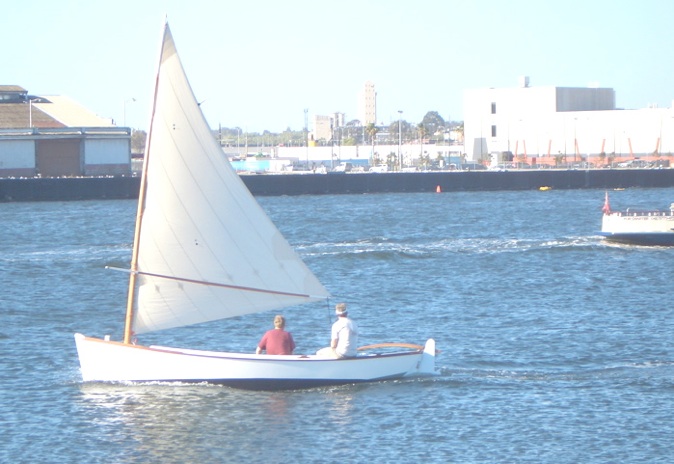
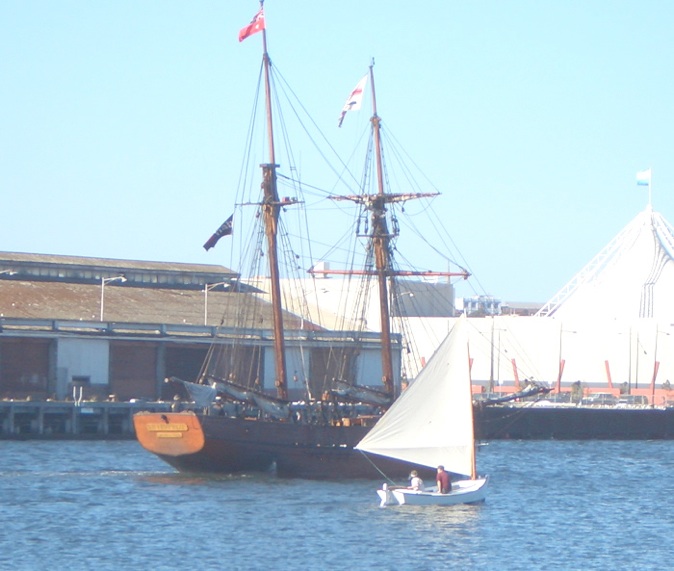

The next afternoon I took Gladys for a quiet sail. I had to wake her up for this shot.
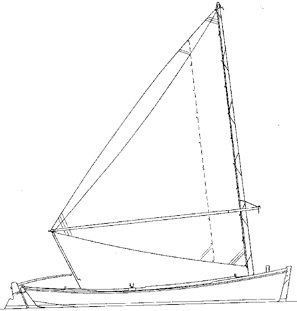
18-foot Modified Sharpie Skiff, Hooper Island, Chesapeake Bay, 1906.
"The type represents the highest stage of evolution of the sharpie into the deadrise skiff. The model is moderate, neither a burdensome workboat nor a flat out racer."